
Building a Simple Chatbot Using LangGraph and LangChain
- Mr. Data Bugger
- Feb 22
- 3 min read
Introduction
In this blog, we'll explore how to build a chatbot using LangGraph and LangChain with Groq's Gemma2-9b-it model. We'll cover key concepts like defining a State, using reducer functions, and structuring a graph-based workflow for managing chat interactions. By the end, you'll understand how to construct an AI-powered conversational agent efficiently.
Why Use LangGraph?
LangGraph extends LangChain by allowing developers to define stateful workflows using graphs. Instead of executing sequential chains, you can manage complex decision trees and multi-step interactions with a structured state management system.
Key Benefits:
Graph-based execution: Define flexible, modular workflows.
State management: Track conversation history efficiently.
Reducer functions: Append messages instead of overwriting previous state data.
Step 1: Defining the State
When defining a graph, the first step is to define its State. The State acts as the schema for our chatbot’s conversation history.
from typing import Annotated
from typing_extensions import TypedDict
from langgraph.graph.message import add_messages

class State(TypedDict):
    messages: Annotated[list, add_messages]
What’s Happening Here?
State as a TypedDict: The State dictionary holds the conversation’s messages.
Annotated[list, add_messages]: The add_messages function ensures new responses are appended instead of overwriting previous messages.
Step 2: Creating the Chatbot Node
We create a chatbot node using LangGraph's StateGraph, which defines the structure of our conversational workflow.
from langgraph.graph import StateGraph
from langchain_groq import ChatGroq

# Initialize the LLM (Gemma2-9b-it)
llm = ChatGroq(model="gemma2-9b-it")

# Create a graph builder with our State schema
graph_builder = StateGraph(State)

# Define chatbot function
def chatbot(state: State):
    return {"messages": [llm.invoke(state["messages")]]}

# Add the chatbot node to the graph
graph_builder.add_node("chatbot", chatbot)
Explanation:
StateGraph(State): Initializes the workflow with our defined State.
chatbot(state: State): The chatbot function receives the conversation history and calls the LLM for a response.
add_node("chatbot", chatbot): Adds a node to handle conversation updates.
Step 3: Setting Entry and Finish Points
After defining the chatbot node, we specify where the conversation starts and ends.
# Set entry and finish points
graph_builder.set_entry_point("chatbot")
graph_builder.set_finish_point("chatbot")
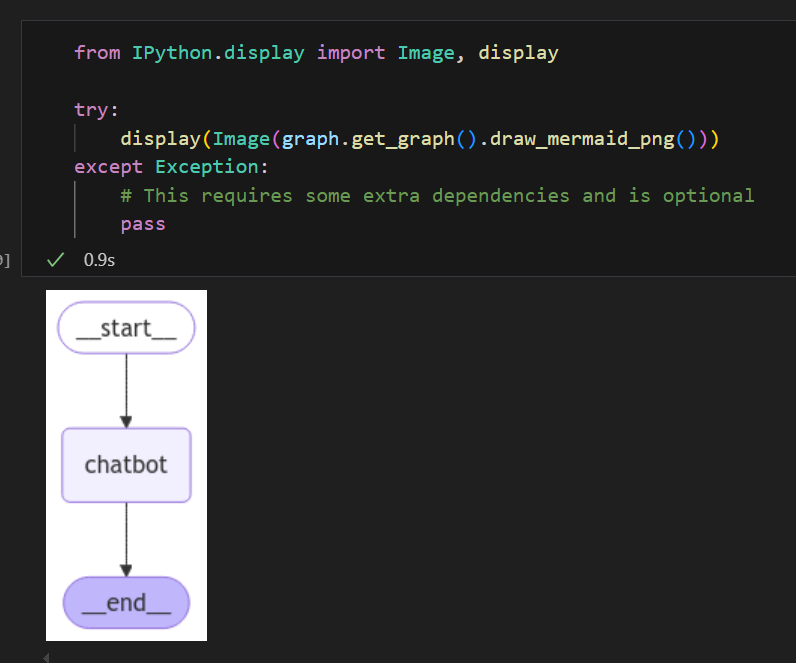
# Compile the graph
graph = graph_builder.compile()
Why Is This Needed?
set_entry_point("chatbot"): Ensures every session starts with the chatbot.
set_finish_point("chatbot"): Defines where the graph execution ends.
compile(): Converts our graph definition into an executable workflow.
Step 4: Streaming Chatbot Responses
To make the chatbot interactive, we define a function that streams updates from the graph in real-time.
def stream_graph_updates(user_input: str):
for event in graph.stream({"messages": [{"role": "user", "content": user_input}]}):
for value in event.values():
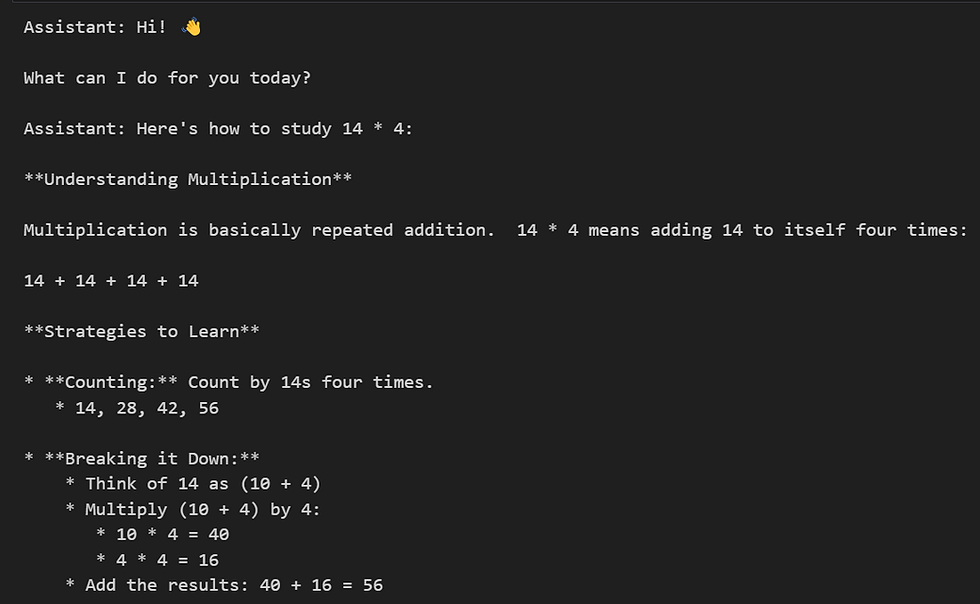
print("Assistant:", value["messages"][-1].content)
while True:
try:
user_input = input("User: ")
if user_input.lower() in ["quit", "exit", "q"]:
print("Goodbye!")
break
stream_graph_updates(user_input)
except:
# Fallback if input() is not available
user_input = "What do you know about LangGraph?"
print("User: " + user_input)
stream_graph_updates(user_input)
break
Explanation:
stream_graph_updates(user_input: str):
Sends user input to the graph for processing.
Streams responses back in real-time.
Extracts and prints the assistant's reply from the message history.
while True:: Runs an interactive chat loop.
Handles graceful exit (quit, exit, q) to end the conversation.
Includes a fallback mechanism to ensure at least one response is generated.
Understanding Reducer Functions in Python
A reducer function in Python is a function that accumulates a sequence of values into a single result.
In our chatbot implementation, the add_messages reducer ensures new responses are added without overwriting existing chat history.
Example of a Simple Reducer Function:
from functools import reduce

def sum_numbers(numbers):
    return reduce(lambda x, y: x + y, numbers)

print(sum_numbers([1, 2, 3, 4]))  # Output: 10
In our chatbot:
The chat state acts as the list.
The add_messages reducer appends new LLM responses to the list.
Unlike direct assignment (state["messages"] = new_messages), it preserves chat history by appending new interactions.
Reducer Function in LangGraph
In LangGraph, reducers help manage state updates efficiently. Here’s how it works:
from langgraph.graph.message import add_messages

class State(TypedDict):
    messages: Annotated[list, add_messages]
add_messages ensures new messages are appended, not overwritten.
Without a reducer, assigning state["messages"] = new_messages would replace the old conversation.
Conclusion
Using LangGraph, we structured a chatbot with a stateful conversation flow, leveraging TypedDict, state reducers, and graph-based execution. This setup ensures efficient state management and a more scalable chatbot architecture.

Comentários